
Apologies for still not posting about DBJ/ladder back fairisle technique - the post is written but needs some editing. As I've not much to show, and no project I can share right now - the xmas media blackout - I thought I'd quickly share some pics of a recent workshop using the double bed colour changer, and some little tips for machine knitting motifs instead.
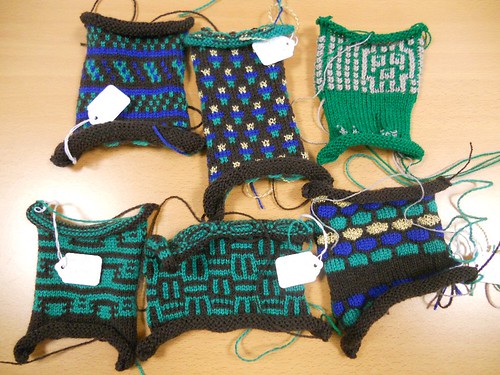
Various kinds of two-colour and four colour tuck and slip, worked using the KHC800 single bed colour changer. The skull is a card I worked out at a previous Dream Week with Beryl Jarvis. I took the card to the demo, expecting to replicate one of the other patterns which are all pre-programmed into the KH950i, only to discover the chairman had changed handbags and left the keys at home. So we knitted the skull card instead! When using the colour changers, it's VERY important to start at the right end when starting the pattern, otherwise it won't come out correctly. Check your manual to be sure!
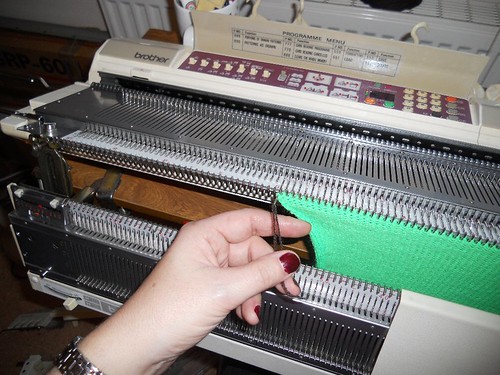
On very long pieces of work that need to be seamed, hang a contrast thread at each end of the row - every 50 rows or so. That way, when sewing up, you can stay "in synch".
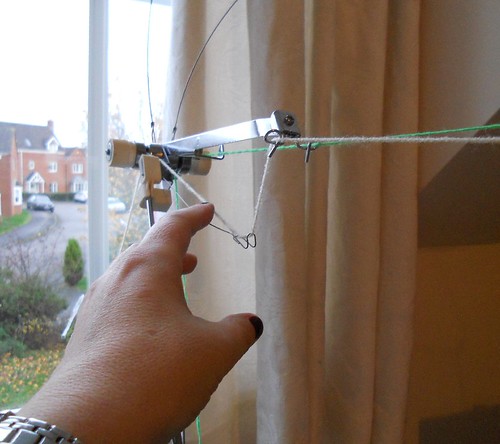
My KH881 manual pictures this wire but makes no further mention of it - so I used it to add extra tension to the yellow yarn, which is knitting a motif on a green background. It seemed to help eliminate end loops (a bit - not perfect!).
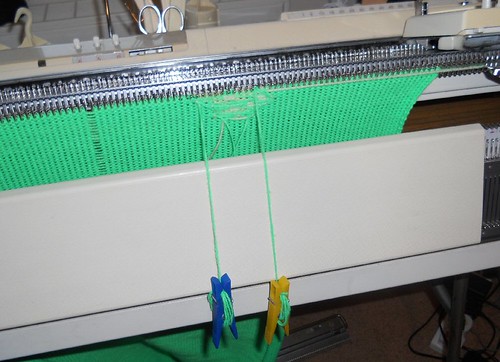
Someone on Ravelry suggested using clothes pegs as intarsia bobbins, and I can confirm it also works well for the "binding yarn" required in motif knitting.
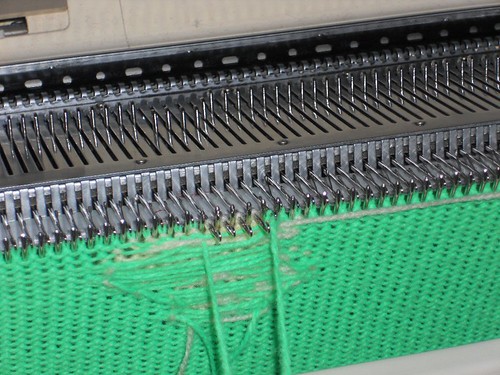
Using the green to bind in the yellow on the carriage side. Otherwise, the motif isn't properly attached to the knitting and you get unsightly edges.
You'll have to wait a few weeks to see the finished project as it's a gift for someone. It's still in the sewing up phase too! :)
Current mood:
 happy
happy
No comments:
Post a Comment